
ServiceObjects REST is for RESTful services. Basically, there is a simple gui for that. Lets do it step by step via using “http://api.openweathermap.org/data/2.5/weather?q=London&appid=yourKey” service.
1- Open Configuration Wizard of REST Services. 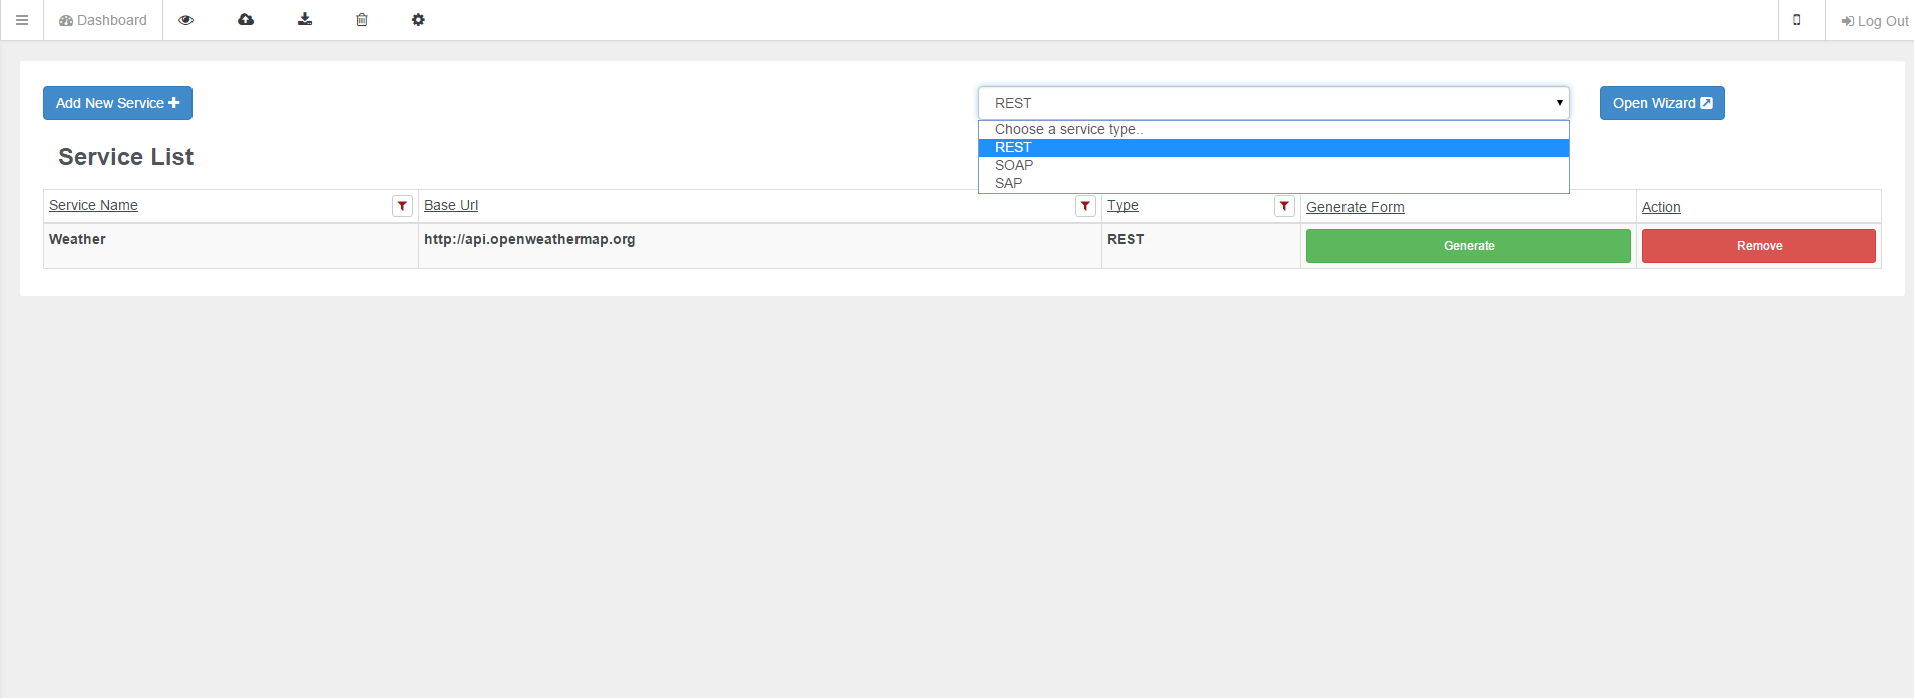
- Click Add New Service button, choose type as REST and click open wizard button.
2- Define Service Name and Base URL.
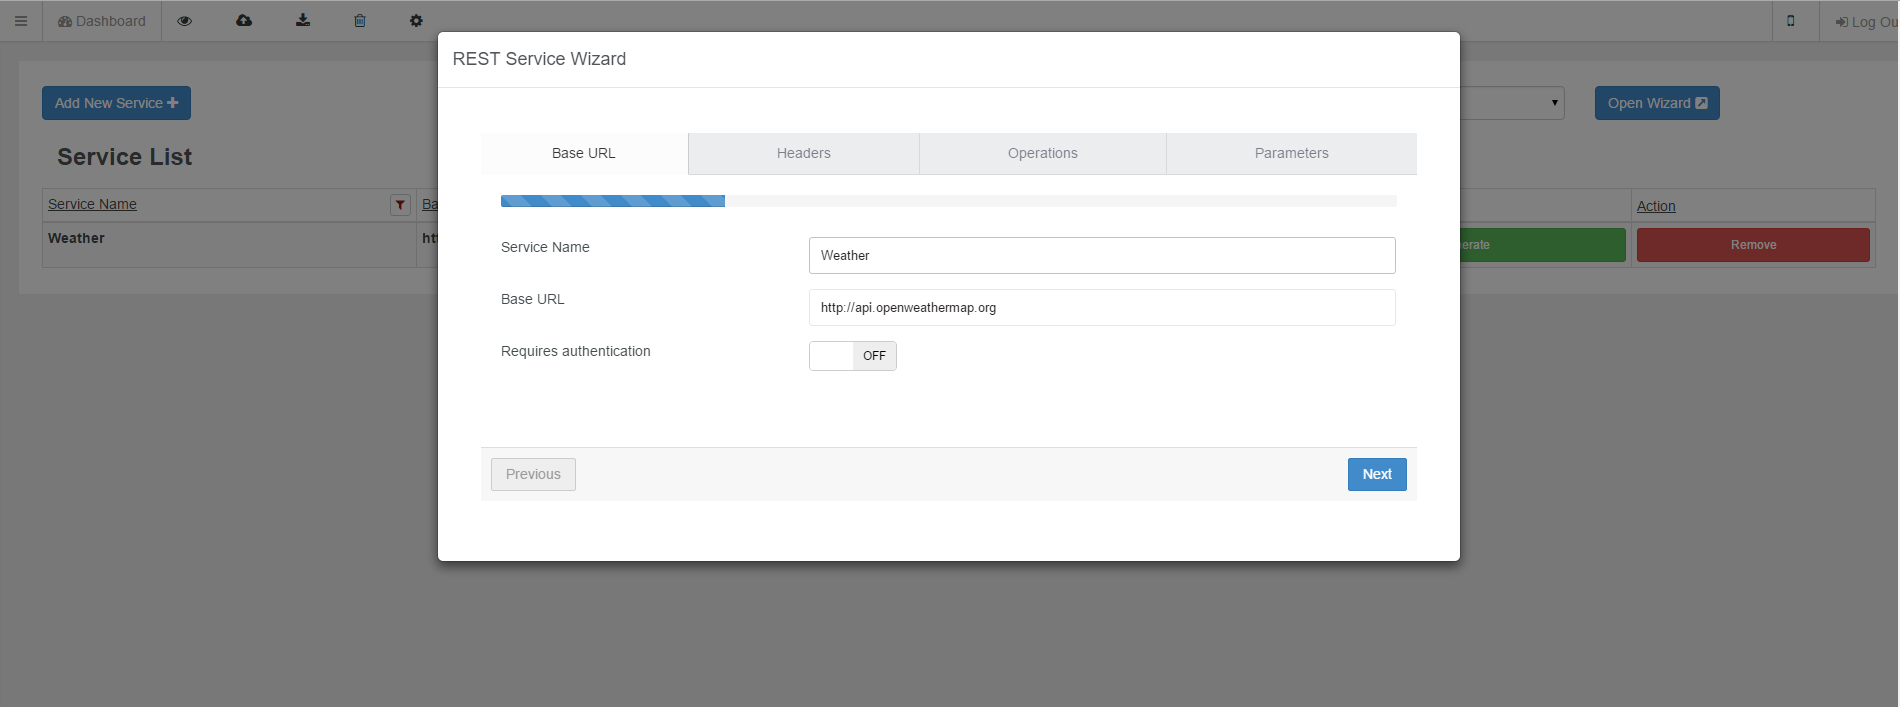
- First define a service name, any name can be given but be sure that same name was not used as REST service name else it will be considered as update for the service. Note: “Given name will be turned into RESTServiceObject-{serviceName} format after completion, this should be taken account while developing. “
- Base url is where your service is provided.
- If your service provider requires authentication, turn on Requires Authentication and provide credentials.
3-Headers
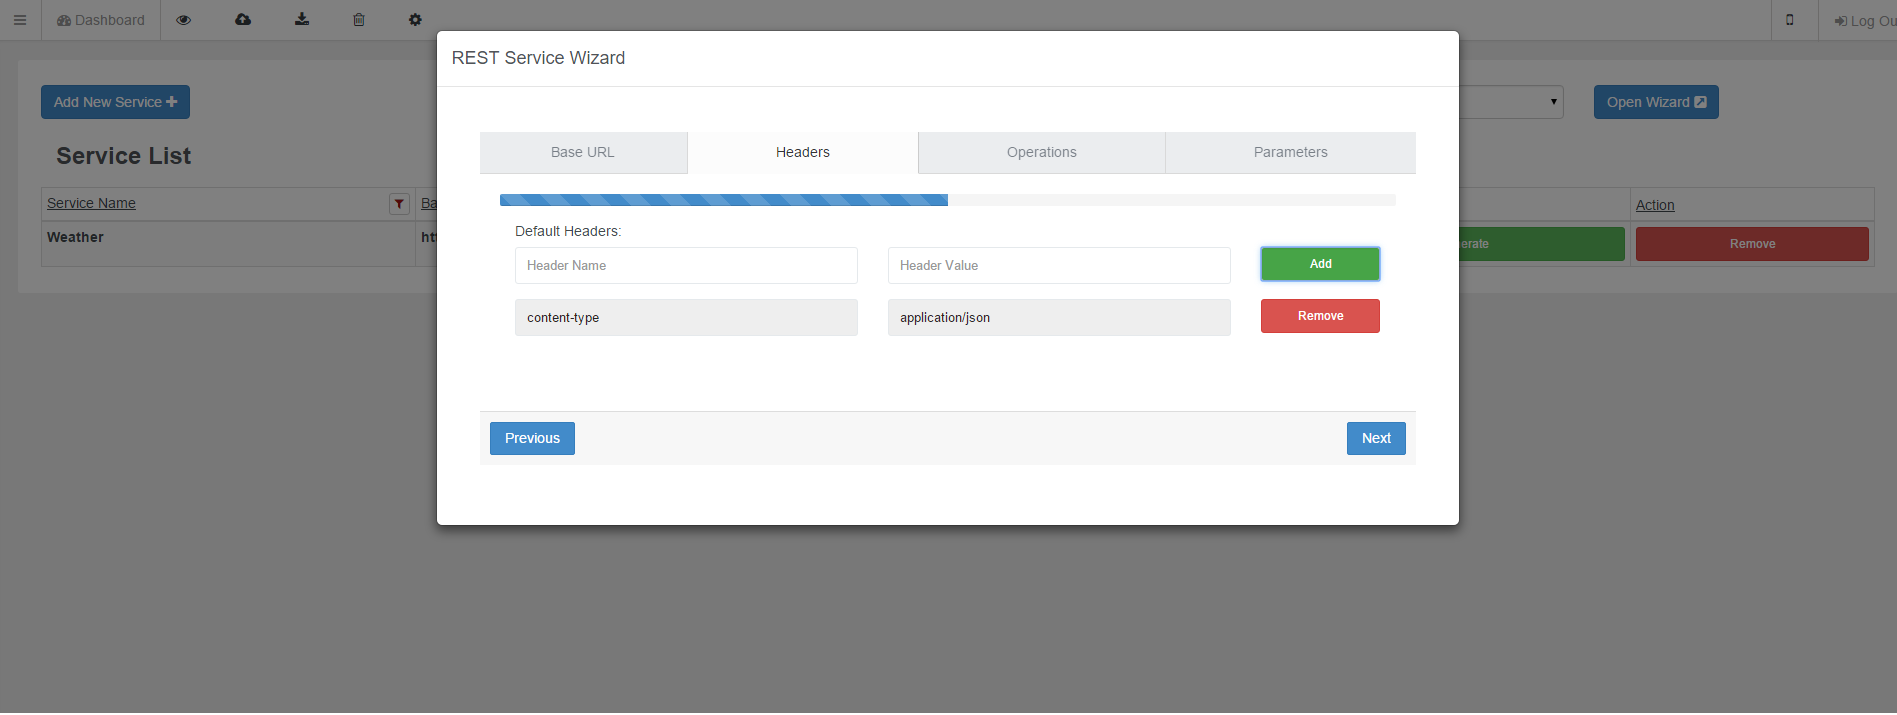
- Add standart header or service provider specific header if necessary.
4- Operation Definitions
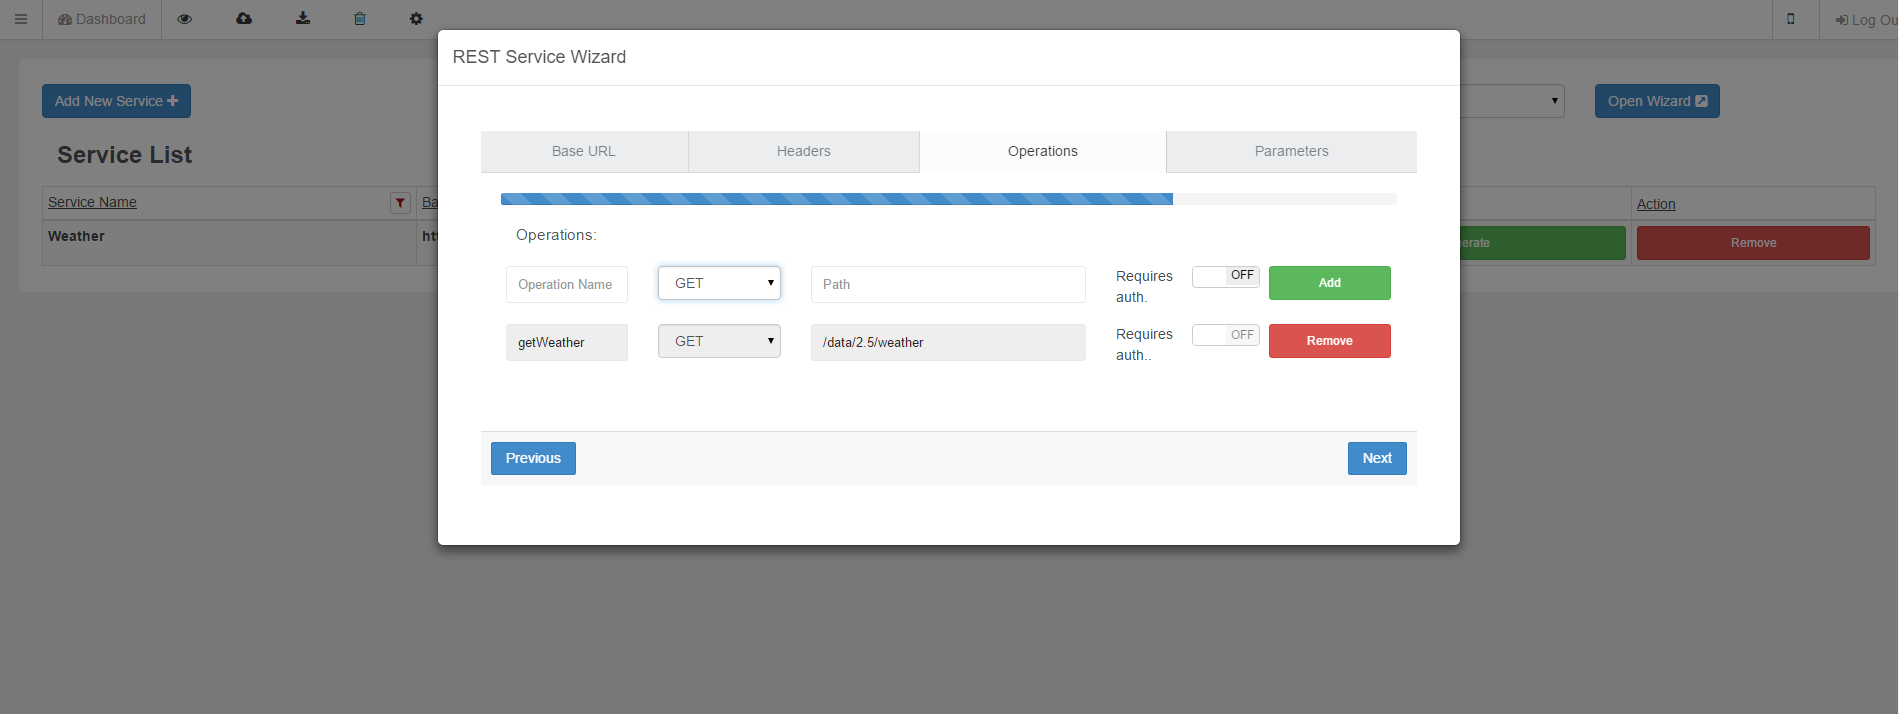
- Operation name, any name you want.
- Chose a method action, depends on service provider definition; RESTful service method actions are well documented on www.w3.org if you need further information.
- Path is where method request will go, “/data/2.5/weather” for our example.
- Use requires authentication if necessary and provide credentials. Public services such as this does not need any authentication.
5- Operation Parameters
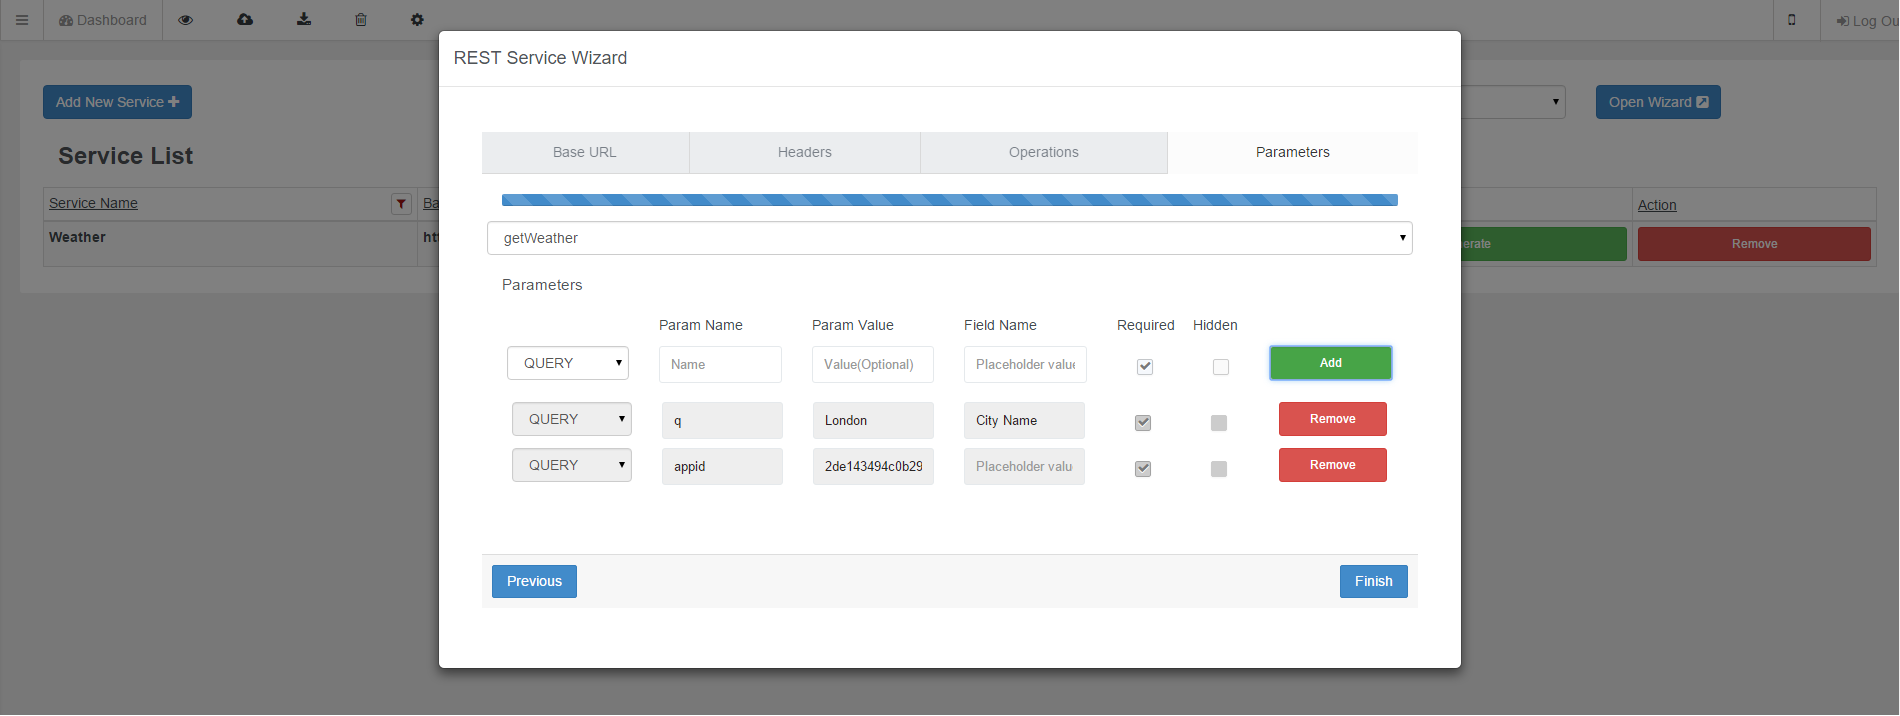
- Parameter names are key value pairs. For this example parameter name for city is “q” and “appid” for api key.
- Parameter value can be given (optional), optional value will be used as incoming value from client when developer does not provide any value.
- Field name, required and hidden options are for form generator tool. Form generator tool generates necassary JavaScript file from service to simply create forms and bind them to html elements you want. Form generator tool will be documented on distinct section.
- Finally choose data sending method of parameters.
Example: Livo ServiceObjects plugin will be added when you create the project for the first time. Lets call this WeatherService.js
var operations; // To hold incoming operations

var isOperationsReady = false; // Check

//successCallback
function sCallback(a){
 //Actual code goes here...
 alert(JSON.stringify(a));
}

//errorCallback
function eCallback(error){
 //Actual code goes here...
 alert(error);
}

/**
*Call service with payload.
*/

function getWeather(payload){
 if(!isOperationsReady){//Create operations first. This part is essential
 Livo.ServiceObjects.getServiceObject(
 "RESTServiceObject-Weather",
 {},// Configuration object, REST services does not need any configuration.
 function(success){
 operations = success;// success is the js object that holds service so you have operations.getWeather(); now.
 isOperationsReady = true;
 operations.getWeather(payload,sCallback,eCallback);// call it here for the first time to be sure its called after operations created. Async design of javascript.
 },
 function(error){
 // do whatever you want with the error message , means there is no such a service, no internet connection etc.
 });
 }else{

 operations.getWeather(payload,sCallback,eCallback);

 }
}
And a basic index.html:
<!doctype html>
<html>
<head>
<meta name="viewport" content="width=device-width, initial-scale=1">
<title>App Name</title>
<script src="cordova.js"></script>
 <script src="WeatherService.js"></script>

 <script src="http://192.168.0.11:8080/target/target-script-min.js#anonymous"></script>
 <script type="text/javascript">

 document.addEventListener("deviceready", onDeviceReady, false);
 function onDeviceReady() {//Be sure to run your preparation codes inside deviceready. deviceready ensures that plugins are installed, native side is ready etc..
  navigator.splashscreen.hide();// if you use, close it or it will be closed after 3 seconds.
  var a = {q:"istanbul"};
  getWeather(a);
 }

 </script>
</head>
<body>
 <div id="page-index" style="width:%100;height:%100;text-align: center;">
 <button onclick="getWeather({q:'istanbul'});">Again!</button>
 </div>
</body>
</html>
Look at examples section of documentation for prettier examples.